Authorize.Net
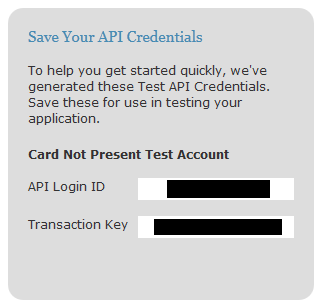
You can apply for a Authorize.net developer test account to get you started. When you have applied for the your developer account you will be presented with a screen with your API Login ID and Transaction Key – save those for future use.
Configure Authorize.Net
Login to the Authorize.net administration.
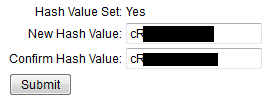
MD5 Hash
Click Account in the top menu and find the link named MD5-Hash. Write a new hash value and click Submit. Save this hash value for later use.
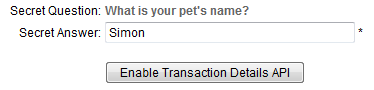
Transaction Details API
Activate the Transaction Details API by clicking Account and then Transaction Details API. Type in your answer to your secret question and hit Enable Transaction Details API.
Silent Post URL
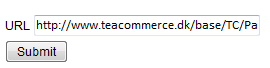
Now go to Account and click Silent Post URL. This is the callback url for your site so Authorize.net can finalize the order correctly.
This url should look something like this:
http://[domain]/base/TC/PaymentCallbackWithoutOrderId/[storeId]/AuthorizeNet/[paymentMethodId]
You should replace [domain] with your sites domain, [storeId] with the store id of your store and [paymentMethodId] with the id of your Tea Commerce paymentmethod using Authorize.net
Payment Form – Form Fields
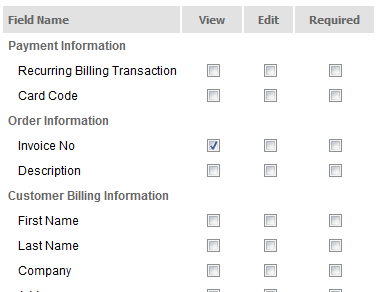
Next click Account -> Payment Form -> Form fields. You have to configure which fields should be presented to the end-user. For the Tea Commerce Authorize.net payment provider the only field that should be visible is the Invoice No. Check in the view column. All other fields must be set to not visible/edit
Receipt Link Text
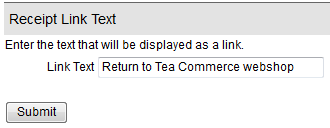
Final step in the Authorize.net configuration is to set the link text for the end-user to click in the Authorize.net receipt page. Click Account -> Response/Receipt URLs -> Default Receipt URL EDIT -> Receipt Link Text and set the link text.
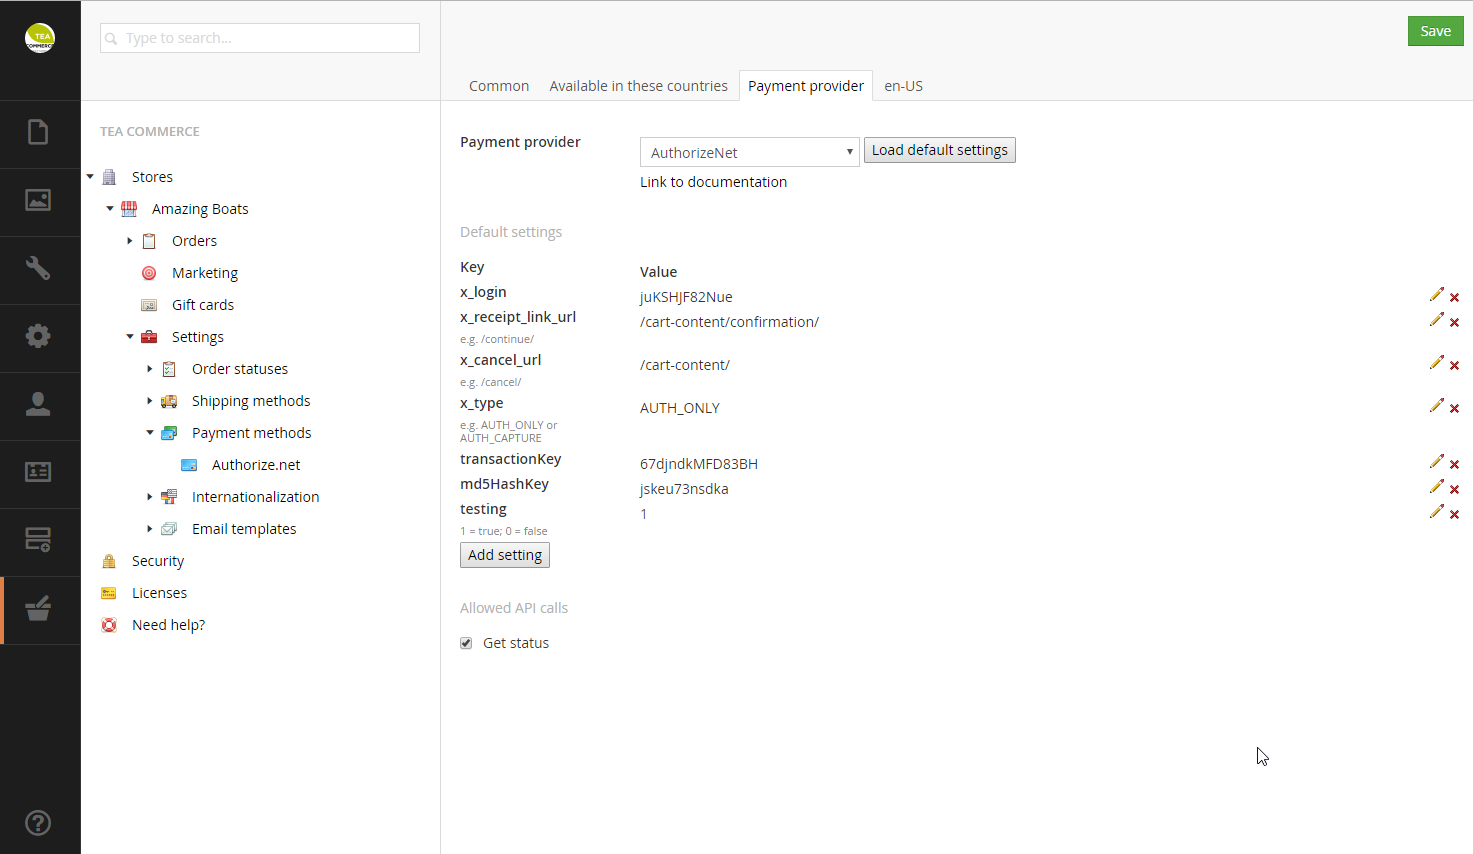
Configure Tea Commerce
Create a payment method and select Authorize.net as the payment provider. Now configure the settings.
Authorize.net supports a wide range of different settings which you can read more about in their documentation.
| Key | Description |
|---|---|
| x_login | API Login ID you got when you applied for an account |
| x_receipt_link_url | URL customer is redirected to when the payment is completed |
| x_cancel_url | URL customer is redirected to when he cancels the payment |
| x_type | Tells whether the payment is deducted immediately from the customer’s credit card |
| transactionKey | API Login ID you got when you applied for an account |
| md5HashKey | Find it in Authorize.Net administration **Account -> MD5-Hash** |
| testing | Whether or not demo mode is enabled |