Sage Pay
You can apply for a Sage Pay Simulator account to get you started.
Configure Sage Pay
Login to the Sage Pay administration.
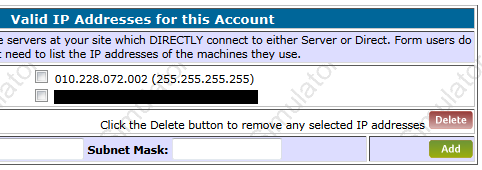
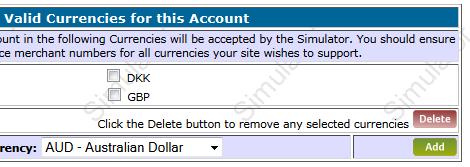
Click the red Account button at the bottom of the screen and insert the URL of your webshop. You also need to add the IP of your server running Tea Commerceand add the currencies you want to support.


Configure Tea Commerce
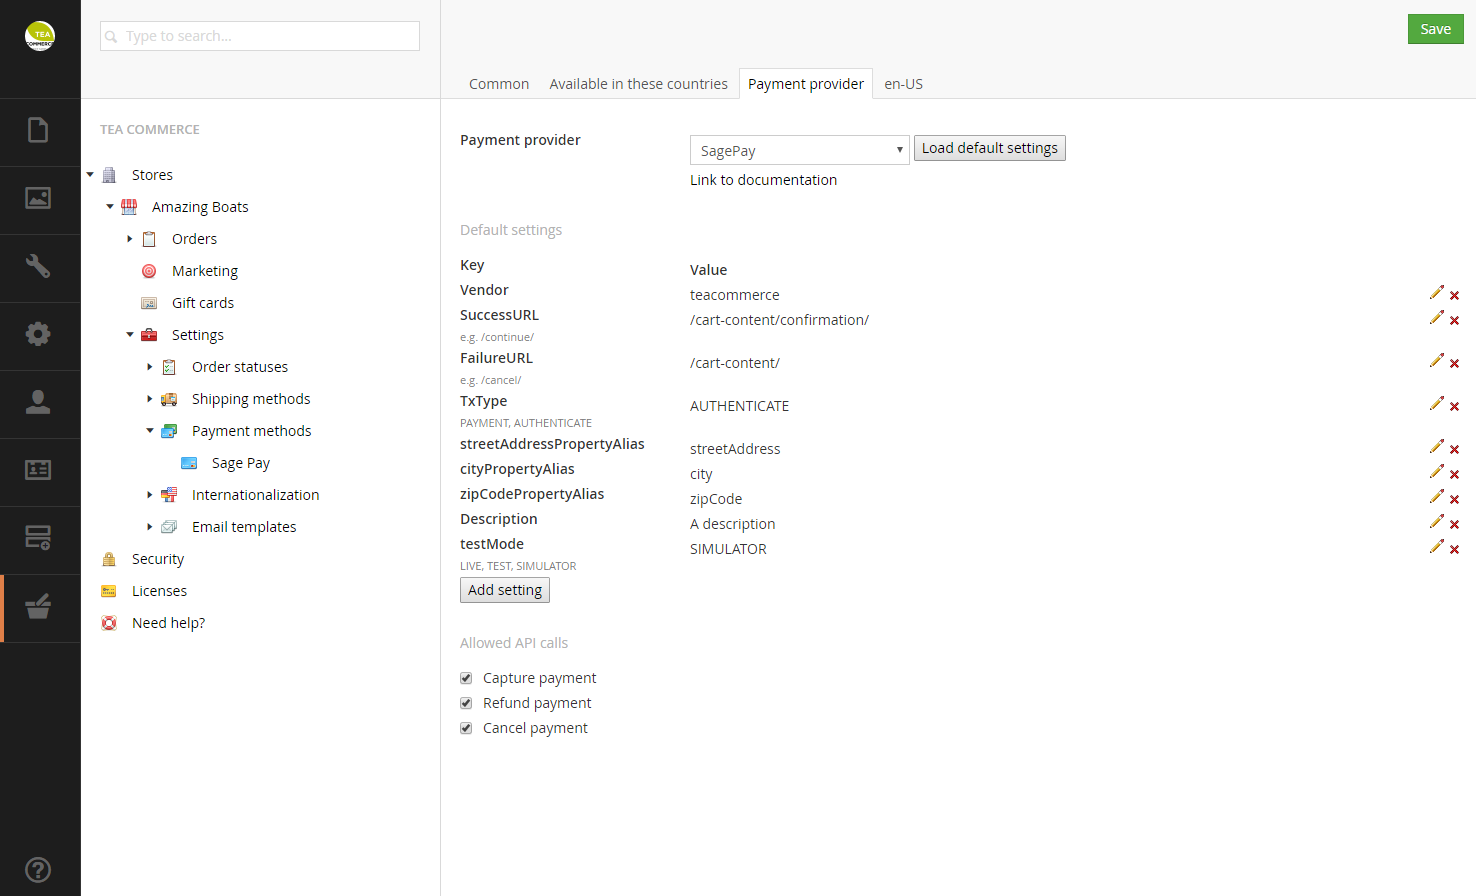
Create a payment method and select Sage Pay as the payment provider. Now configure the settings.
Sage Pay support a wide range of different settings which you can read more about in their documentation.
| Key | Description |
|---|---|
| Vendor | Your vendor login for Sage Pay |
| SuccessURL | URL customer is redirected to when the payment is completed |
| FailureURL | URL customer is redirected to when he cancels the payment |
| TxType | Whether the payment is deducted immediately from the customers credit card |
| streetAddressPropertyAlias | Order property alias containing the street address |
| cityPropertyAlias | Order property alias containing the city |
| zipCodePropertyAlias | Order property alias containing the zip code |
| Description | A static description that we be in the payment window |
| testMode | Whether or not demo mode is enabled |

